
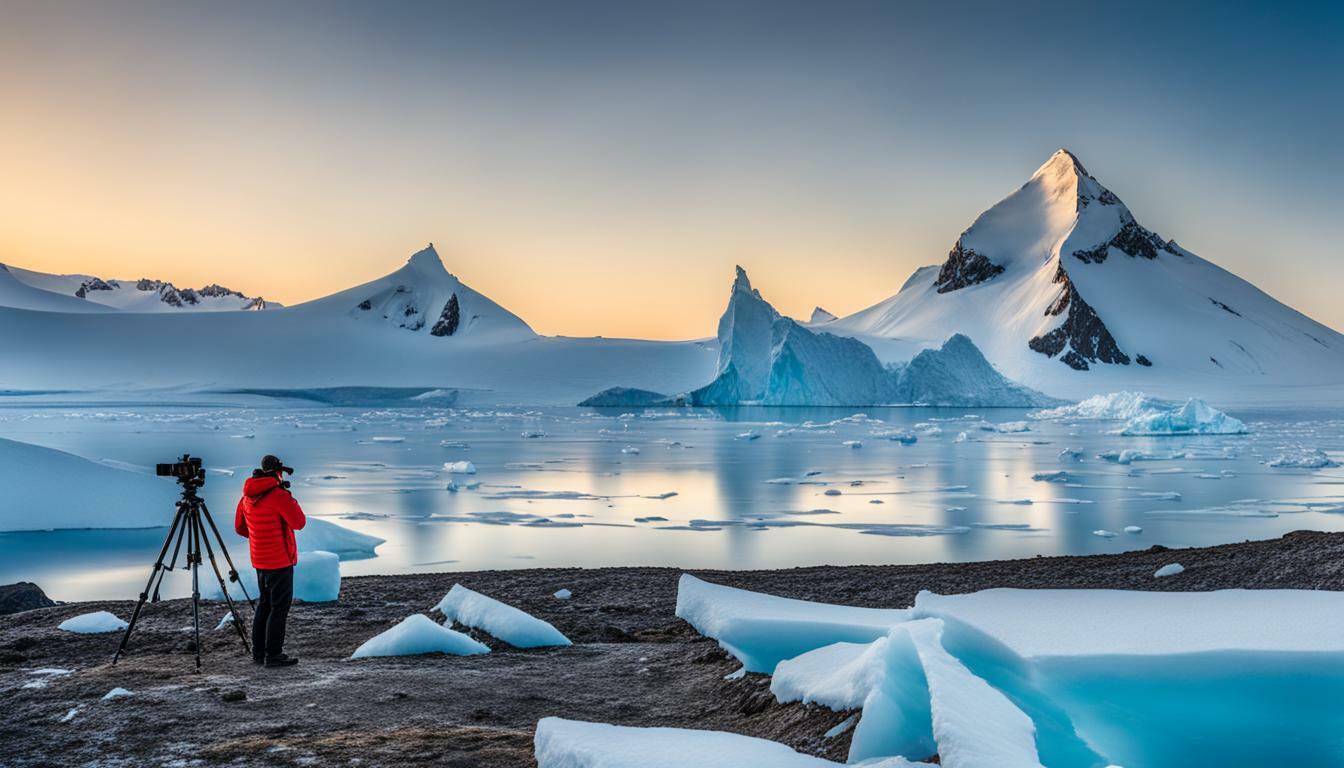
Antarctic photographs often fail for ordinary reasons: the snow is rendered gray, a distant animal is too small in the frame, or a camera cannot be operated with gloves. Plan for those problems before departure. Landing locations and conditions depend on the voyage; an itinerary is not a promise of access to a particular scene.
Build a small, workable kit
A wide or standard zoom covers ice, shorelines and people in their surroundings. A telephoto lens lets you frame wildlife without approaching it. Pack spare batteries, memory cards, a lens cloth and a way to protect the camera from spray. Practice changing settings while wearing the gloves you will use outdoors. Keep batteries protected from the cold and follow the camera maker’s operating-temperature guidance.
Heavy gear can slow you down on a landing. Bring what you can carry and operate safely; a macro lens or tripod is useful only if your itinerary, subject and operator’s rules leave room to use it. Secure equipment on small boats as instructed by the crew.
Expose for snow and ice
Bright snow can fool an automatic meter into making a scene too dark. Check the histogram and highlight warning after a test frame; add exposure compensation if the snow looks gray, while protecting detail in the brightest ice. Shoot RAW if you want more latitude for white balance and highlight recovery. Recheck the exposure when the light changes or you turn toward darker water.
For a landscape, include a known scale such as a vessel, a person where permitted, or a dark rock. A low angle can emphasize the shape of ice, but only take positions allowed by the landing team. Color in ice varies with light and weather; correct white balance carefully rather than forcing every image toward blue.
Photograph wildlife without changing its behavior
Use the reach of the lens and wait for a natural gesture. Do not block an animal’s route, approach a nest for a close-up, or ask others to move an animal for a photograph. IAATO’s visitor guidance says not to approach or photograph wildlife in ways that alter its behavior. Its general visitor guidelines give 5 m as a general minimum on land and note that greater or site-specific distances may be needed. Follow the expedition team’s instructions and move away if an animal reacts to your presence.
Do not assume a drone is allowed. Aircraft can disturb wildlife, and any flight requires the appropriate authorization and operator approval. If photography is restricted at a scientific station or protected site, respect the restriction.
Make the most of a short landing
Start with a frame that establishes place, then make tighter views of ice patterns, weather and wildlife encountered from the permitted route. Review a few frames for focus and exposure, but spend most of the time observing. On the ship, back up your files to a second device before clearing cards. Keep a note of where and when each sequence was made so captions remain accurate.
Frequently asked questions
What camera gear should I take to Antarctica?
Take a wide or standard lens for landscapes, a telephoto lens for wildlife, spare batteries, memory cards and protection from spray. Practice operating the kit with gloves.
How do I keep Antarctic snow from looking gray?
Make a test frame, check the histogram and add exposure compensation when the meter renders bright snow too dark. Protect highlights in the brightest ice.
How close can I get to penguins for a photo?
Follow current expedition and site instructions. IAATO gives 5 m as a general minimum on land, but more distance may be needed; move away if an animal changes behavior.
Can I use a drone for Antarctica photography?
Do not assume a drone is permitted. Flights need the appropriate authorization and operator approval, and aircraft must not disturb wildlife.
How should I store photos during an Antarctica trip?
Back up files to a second device before clearing cards. Keep a note of place and date so captions remain accurate.
